How to build a f**king printer
I was planning to build an e-ink display when I came across the Xteink X3 online. Somewhere in the fine print, it said the thing was fully programmable.
I was sold.
When it arrived, I liked how flat it was. It felt solid in my hand. I started adding things to the CrossPoint firmware: a different boot animation, dice I could roll by shaking the reader, a LinkedIn QR code for SF networking events.
But getting stuff onto it was tedious. I had to join its hotspot and open a little upload website in my browser.
Yuck.
While looking for a nicer way to send things to it, a thought struck me. If it looks like paper, it should act like paper.
I should be able to print on it.
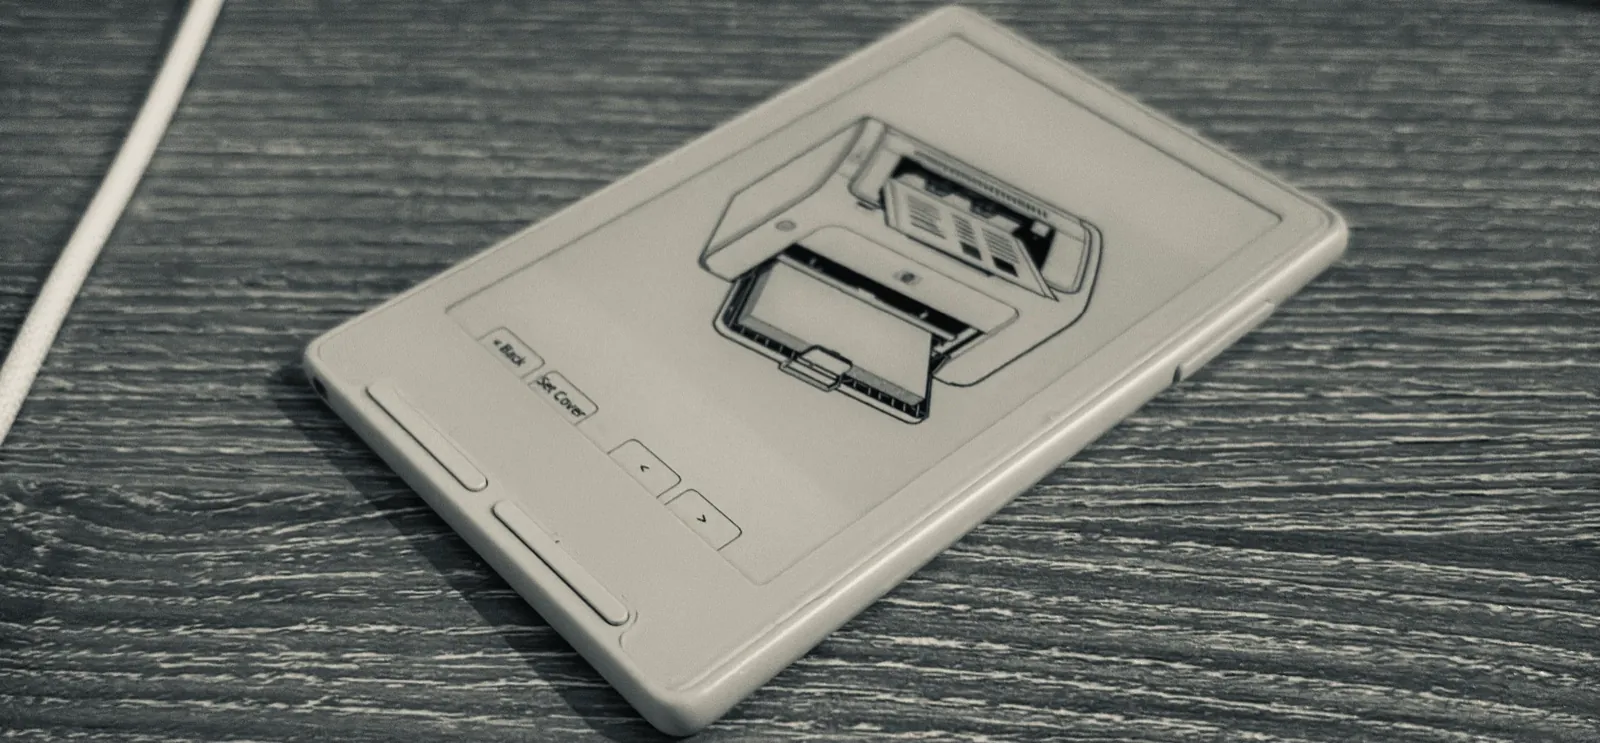
What makes a printer a printer?
I wanted to open something on my MacBook, press Print, and pick the Xteink. That meant finding out what my computer expected to find at the other end.
I ended up in the Internet Printing Protocol, or IPP. It lets a computer ask a printer what it supports, submit a document, and ask what happened to the job. The messages travel over HTTP. An operation such as Get-Printer-Attributes asks about capabilities; Print-Job sends the work.
I advertised monochrome output, 300 dpi, one copy, and one-sided printing. For document formats, I accepted Apple raster and PWG raster. That meant the Mac had to turn the document into pixels before sending it. penguin would shrink the result to fit its screen.
I declared A5 and Letter paper, media type stationery, and an output bin called face-up.
I called it penguin. It had the right color scheme.
I used Bonjour to announce an _ipp._tcp service under that name. The advertisement included the formats I accepted and the address where print jobs should go.
To get driverless discovery on macOS, I also had to add the _universal subtype. That meant calling ESP-IDF’s mDNS API directly, because the Arduino wrapper didn’t expose it.
Getting the computer to send a page was only part of the job. I still had to receive it on this thing.
Where do I put the page?
A Letter page at 300 dpi is 2,550 × 3,300 pixels. At one byte per grayscale pixel, that’s about 8.4 MB uncompressed.
The X3 has 400 KB of RAM, with 16 KB reserved for cache. I needed to run Wi-Fi, run a printer server, and somehow receive an entire fucking page.
With Wi-Fi running and the printer’s page image allocated, I had 6.8 KB of heap left.
I remembered mmap on Linux. Could I do something like that with the SD card and pretend I had more RAM? The C3’s memory-mapping support was for flash, not files on the SD card.
But wait. Could I make the display my storage?
What if I passed the incoming page through a transformation pipeline and wrote the result straight to the display? Decode the pixels, shrink them to fit, dither them into black and white. As soon as a row was ready, put it in its place on the display and reuse the working space. Keep going until I have a page.
The display already had RAM reserved for its screen image. I could build the page right there as it arrived. Until then, I had been assembling a whole second image just to copy it over.
My decoder already worked row by row. I changed the scaler to hand over finished rows too and wired those into the display’s screen image. At first, I let the page appear in bands, like paper feeding out of a printer. Each intermediate refresh took roughly half a second, so I switched to showing the finished page all at once.
I saved the finished page as a BMP on the SD card using the existing screenshot writer.
| Image-buffer RAM | Before | After |
|---|---|---|
| Out of the chip’s 400 KB | ~113 KB | ~62 KB |
That gave the network stack room for its socket buffers.
There was a penguin in Preview
I had a sample manga image from Mushoku Tensei on my MacBook for some reason. I opened it in Preview and went to print it.
There was penguin in the printer list.
Holy shit.
I selected it and printed. The manga page looked really good on the Xteink. From memory, it took about a second to appear. It’s still there.
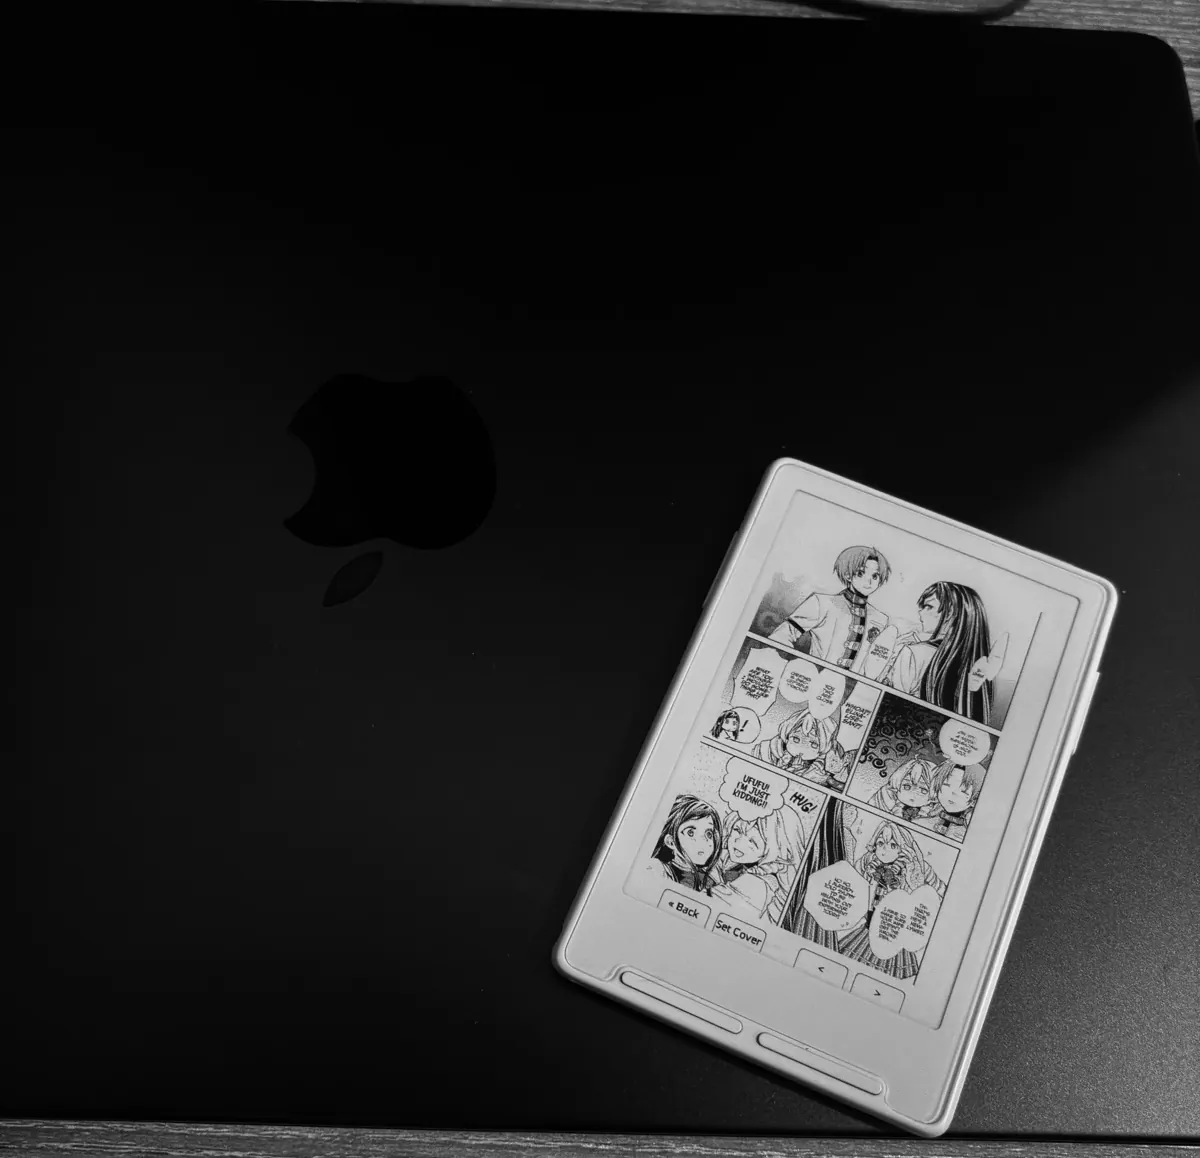
I spent an evening getting to that first print.
The printer server runs on the reader itself. I can have it join a Wi-Fi network or start its own hotspot, literate-penguin.
My penguin can read now.
The code is in my CrossPoint fork, including the printer implementation.
Saved printouts stay on the SD card, and I can browse them on the reader. My printer has an output tray after all. It’s a folder.